
Changd is a free self-hosted website change monitoring tool with a free JSON API. It's the website change monitoring tool we've already talked about, but it has a few other useful additions. JSON API monitoring is also supported here, and there are multiple website monitoring methods. It can be installed on a Linux server or VPS and used to monitor an unlimited number of websites.
Changd is currently in active development, but will be a bit more polished once the stable version is released. Currently, the level that is possible or allowed change detection interval is 1 hour, and there are 3 ways you can monitor your website or API endpoint. It has built-in analytics and timelines that give you insight into the monitoring jobs you create. You can deploy it on your VPS or run it locally. Instructions for doing this are provided later in this post.

Install and set up Changd :
For this article, we will install and configure locally. However, the process is the same for online servers and VPS.
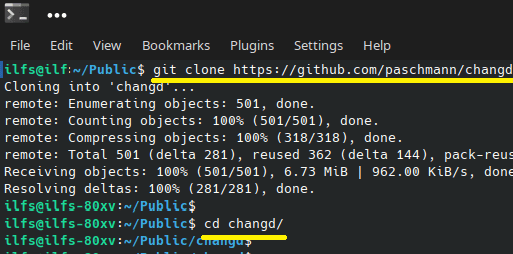
The best way to get Changd working is with Docker. So start by cloning Changd's GitHub repository and copying it via CD.
git clone https://github.com/paschmann/changd
cd changd
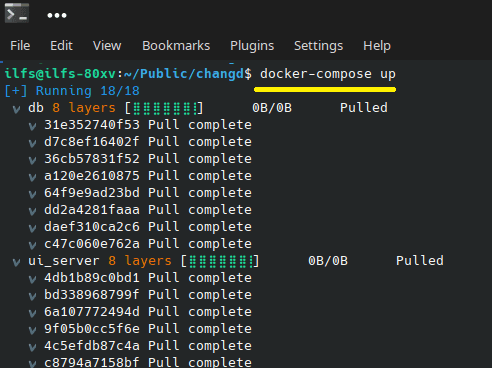
Run the following command and wait a few seconds. It will take some time to set up all the dependencies and required files.
docker-compose up
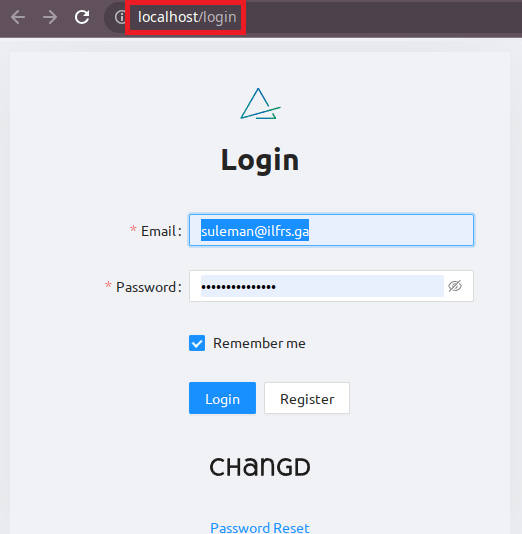
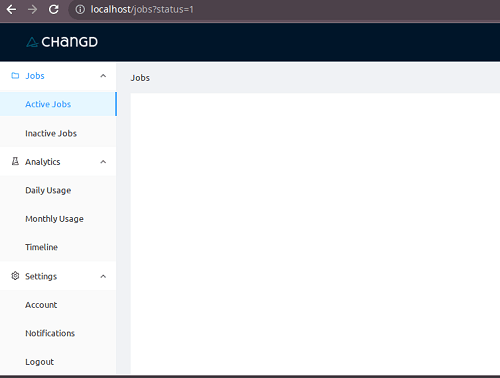
Once done, enter "localhost" in your browser's address bar. You will see Changd's main interface. To get started, you need to register a free account and log in. After logging in, you will see the main dashboard. It is initially blank and appears as shown below.
In the next section you will learn how to add your first monitoring job and have it check indefinitely. However, please note that the docker compose command above may take some time, so you should be patient. We also recommend installing it on a powerful server or PC.
How can I use Changd to detect website and API changes?
After logging in, you must first set up your notifications. Supports sending email notifications via SMTP or Amazon SES. So go to the "Notifications" section and create a notification channel.
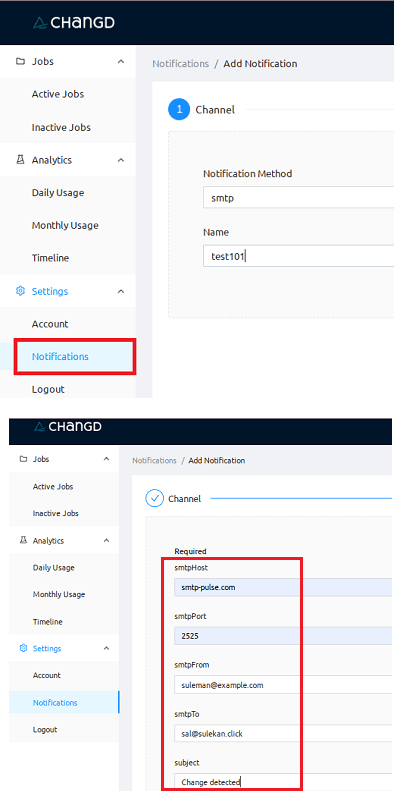
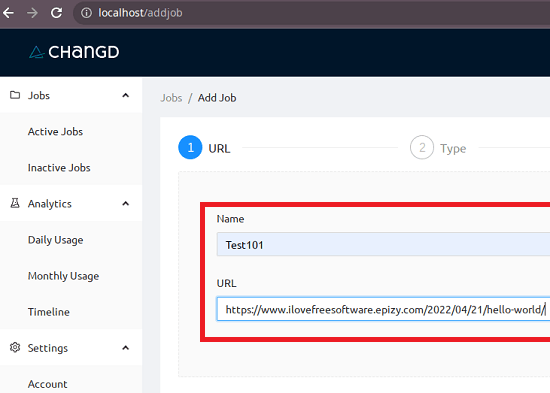
We want to use SMTP, so give it a name and specify all your SMTP credentials. It's now easy to get your SMTP credentials by signing up for our free SMTP service. Save your changes and create your first job. In the Jobs section, add your first task. First, enter your name and URL.
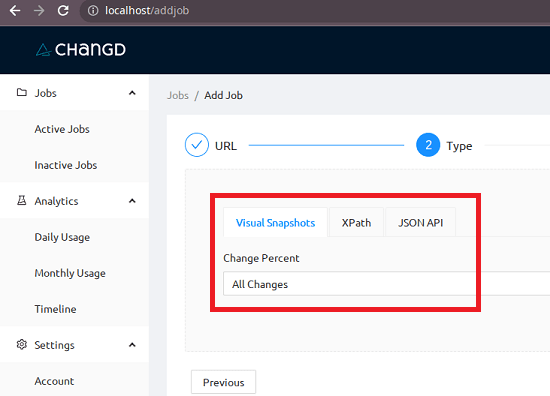
In the next step you need to specify the task type. For websites, you can monitor via visual snapshots and Xpath. For API endpoints, it can be monitored through changes in the JSON text.
Proceed to the next step to specify the schedule. By default, the minimum verification frequency is 1 hour, but you can change it to another value. So give it a schedule and then move on.

In the last step you have to choose the notification channel for this job. So just select the SMTP service you created earlier. Once you've specified your notification channels, just save your changes and you're done.
Then let Changd run in the background and check the website for any changes. You will receive an email notification when changes are detected on the website. A typical email notification sent looks like this: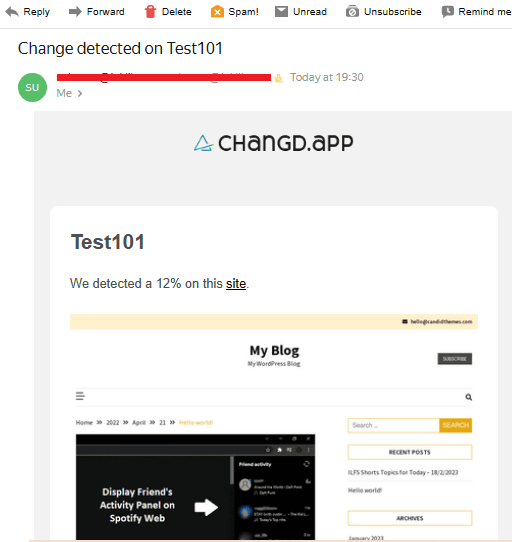
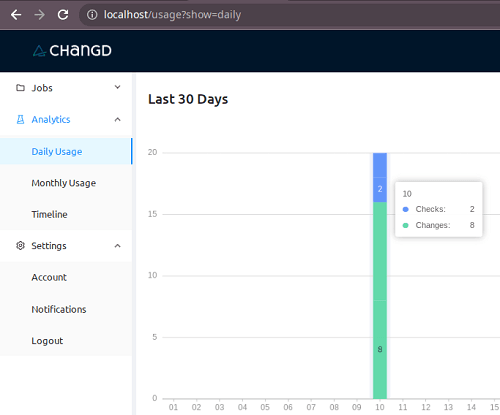
Changd includes an analytics panel that can display daily and monthly usage graphs. A graph is recorded between checks and changes, making it easy to visualize and understand how it works.
Similar to analytics, there is a timeline section that shows every event as it happens. You can use the timeline section to view details of all recorded incidents.

As shown above, keep adding jobs to Changd and you will continue to receive notifications when changes are detected. It detects both small and large changes very well and notifies you in a timely manner. The post above used a website as an example, but you can do the same with an API endpoint. It constantly compares JSON data and sends notifications as soon as changes are detected.
Final Thoughts: We already reported on a similar website monitoring service. However, this is a bit more advanced as we can also monitor APIs here. So for full-stack developers, this can be a great self-hosted tool for monitoring web apps. The interface is very simple and you get everything for free. The best part is that it runs fine locally. Give it a try and let us know what you think.
| Free/Paid: | Free |